Hello guys, welcome back to our new blog…
In our last blog we learned about, what is CAD and How it is Revolutionizing Engineering and Design Industries, and we talked about the career options in CAD.
Now in this blog, we are going to know about what is 3D Printing.
So, let’s get deep down into it…
If you’ve ever been curious about this cutting-edge technology that seems to be everywhere nowadays, you’ve come to the right place. In this article, we’ll explore the fascinating realm of 3D printing, also known as additive manufacturing, and discover how it has revolutionized industries and empowered creative minds.
So what is 3D Printing?
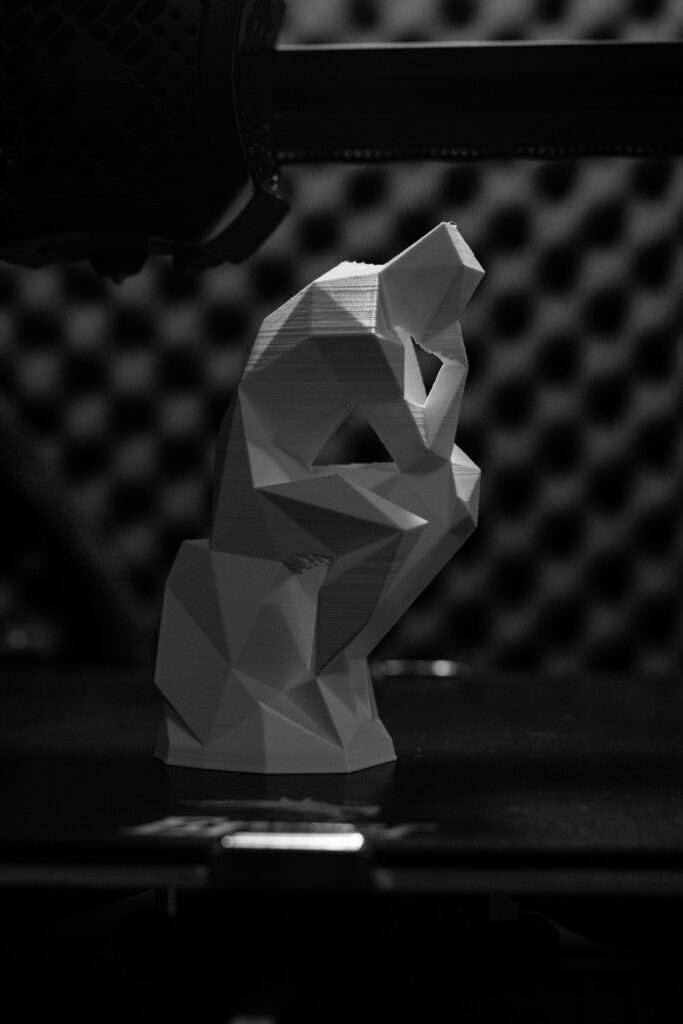
3D printing also known as additive manufacturing is a manufacturing process used to create or make three-dimensional solid objects from a digital file. It is called additive manufacturing because, in this manufacturing process, the object is made by adding part by part or layer by layer on the base object.
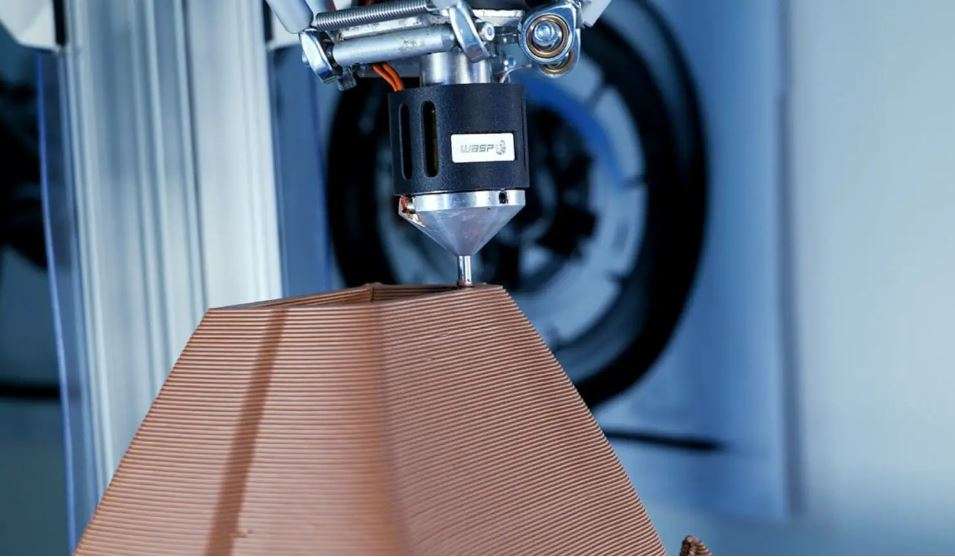
Fig. 1- 3D Printing (Source – sculpteo)
This process can make any type of complex design with fewer uses of material, which is not possible to get done by machines or by the machining process. This process stands in stark contrast to traditional subtractive manufacturing, where materials are carved away from a solid block to achieve the desired shape.

Fig. 2- Comparison between Subtractive and Additive Manufacturing (Source – Bitfab)
Steps Involved in 3D Printing
3D printing involves a series of steps to turn a digital 3D model into a physical object. The process may vary slightly depending on the specific 3D printing technology and materials used, but the fundamental steps remain consistent. Here are the general steps involved in 3D printing:-
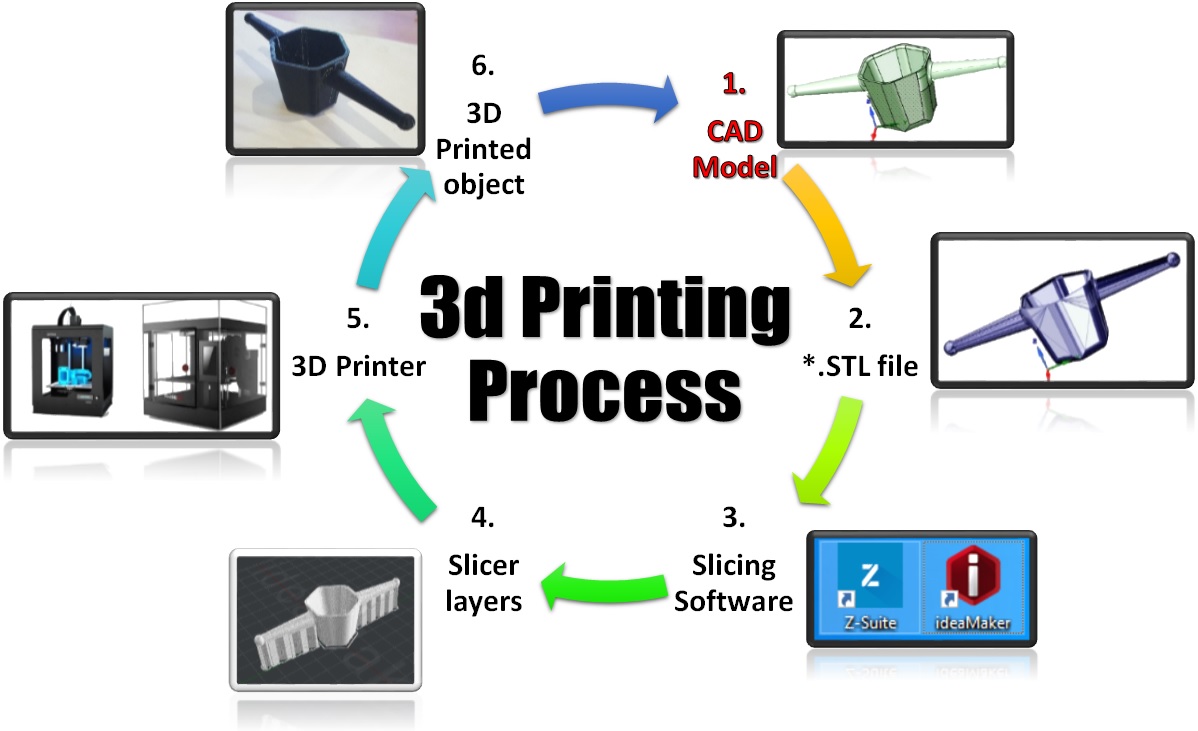
Fig. 3- Steps Involved in 3D Printing[Source – ReCreate3D]
- The first step is to create a 3D digital model of the object you want to print. This model can be designed using 3D modeling software [CAD software], obtained from online repositories, or generated from 3D scanning. 3D modeling software allows you to define the shape, size, and intricate details of the object.
- Once you have your 3D model ready, the next step is slicing. Slicing software takes the 3D model and slices it into thin horizontal layers, generating a set of 2D images or paths known as “slices” or “layers.” The thickness of these layers is determined by the 3D printer’s resolution and the desired level of detail.
- After slicing, the slicing software generates G-code instructions. G-code is a language that contains specific instructions for the 3D printer, including details about the print path, temperature, speed, and other parameters. This G-code serves as a set of instructions that tell the 3D printer how to build the object layer by layer.
- Before starting the printing process, the 3D printer must be set up and prepared. This includes loading the appropriate printing material (such as filament for FDM or resin for SLA), ensuring the print bed or platform is level, and verifying that the printer’s nozzle or laser is calibrated correctly.
- Once your printing is over, the 3D object needs to cool and get solidified, that totally depends on the 3D printing technology and material, the object may need time to cool or solidify between layers. In some cases, additional post-processing steps like curing (in SLA) or heating (in SLS) may be required to achieve the desired material properties.
- After the printing process is complete, the printed object is carefully removed from the 3D printer’s build platform. Depending on the material and technology used, some post-processing may be necessary, such as removing support structures, cleaning the object, and performing any additional finishing touches.
- Finally, a quality check is performed to ensure the printed object meets the desired specifications. This may involve inspecting for any defects, measuring dimensional accuracy, and verifying the overall print quality.
Tap on this video, you will get an idea of what we are talking about in this blog.
In this video, you know about, CAD, Slicing, 3D Printer Settings, and finally 3D Printing.
What is an STL File
Computer-aided design (CAD) systems use STL files, a straightforward, portable format, to specify the solid geometry for 3D printing parts. By modeling the surfaces of the object as triangles that share edges and vertices with other nearby triangles for the build platform, an STL file offers the input data for 3D printing. The quality of the 3D printed items is influenced by the STL file resolution; if the file resolution is too high, triangles may overlap; if it is too low, the model will have gaps and will not print. Many 3D printers need an STL file to print from, however, most CAD programs can create these files.There are many more file types also present that were used in 3D printing, like obj, vrml, fbx, 3mf, ply, g-code, amf, etc.In any other blog, we will discuss all these file types, and we will see them in detail.
Different Types of 3D Printers
There are several different types of 3D printers, each utilizing distinct technologies and materials to create three-dimensional objects. Here’s an overview of some of the most common types:
Fused Deposition Modeling (FDM) / Fused Filament Fabrication (FFF):
- FDM and FFF are terms often used interchangeably. FDM is a trademarked term by Stratasys, while FFF is a more generic term.
- Works by extruding melted thermoplastic filament through a nozzle.
- Layer-by-layer deposition creates the object.
- Widely used for hobbyist 3D printing and rapid prototyping.
Stereolithography (SLA):
- Utilizes a UV light source to solidify liquid photopolymer resin layer by layer.
- Objects are built upside-down in a resin tank.
- Provides high resolution and excellent surface quality.
- Suitable for producing intricate, detailed parts.
Digital Light Processing (DLP):
- Similar to SLA, but uses a digital light projector to cure entire layers at once.
- Faster than some other technologies due to simultaneous layer curing.
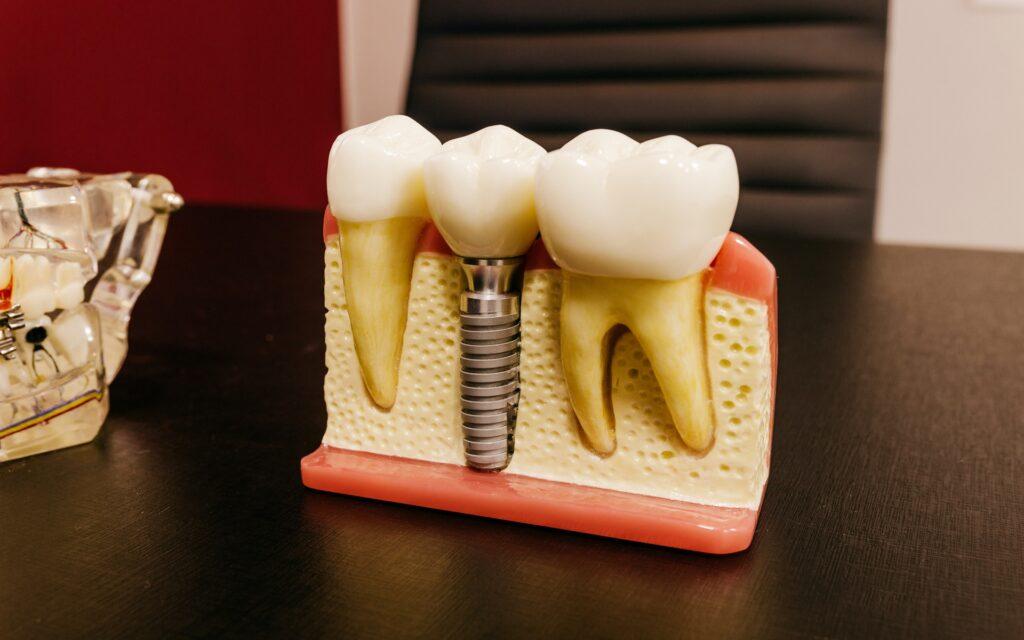
- Often used for high-detail prints, jewelry, and dental applications.
Selective Laser Sintering (SLS):
- Utilizes a high-powered laser to fuse powdered materials (e.g., plastics, metals) layer by layer.
- Unfused powder supports the object during printing.
- Offers design freedom and is used in the aerospace, automotive, and medical industries.
Selective Laser Melting (SLM):
- Similar to SLS, but used for metal printing.
- Melts metal powder layer by layer using a high-energy laser.
- Produces dense and fully functional metal parts.
Electron Beam Melting (EBM):
- Like SLM, but uses an electron beam instead of a laser to melt the metal powder.
- Commonly used in aerospace and medical industries for high-performance metal parts.
How Shokitech can help you
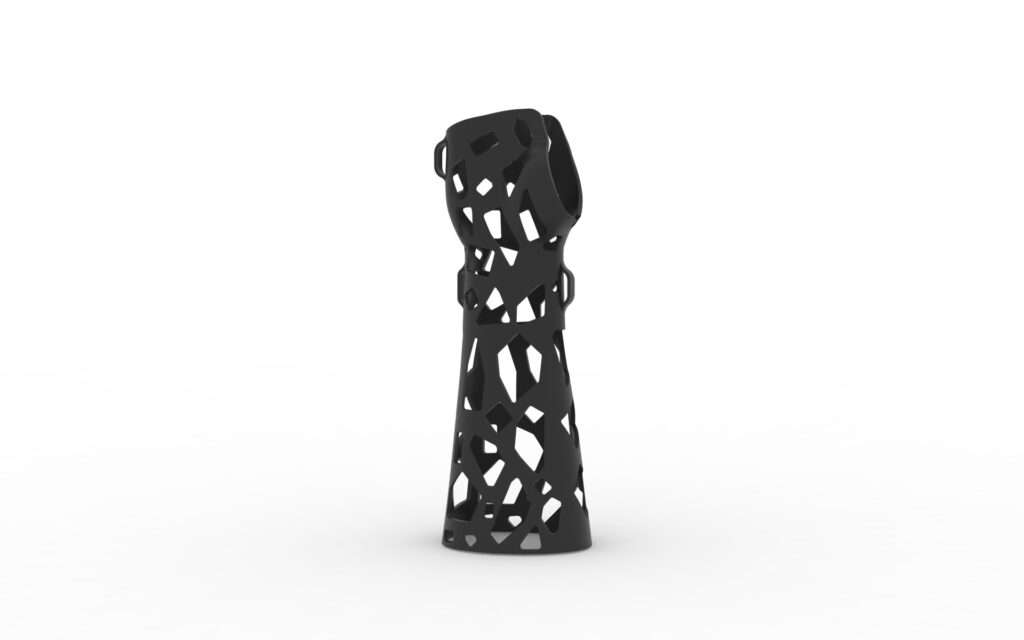
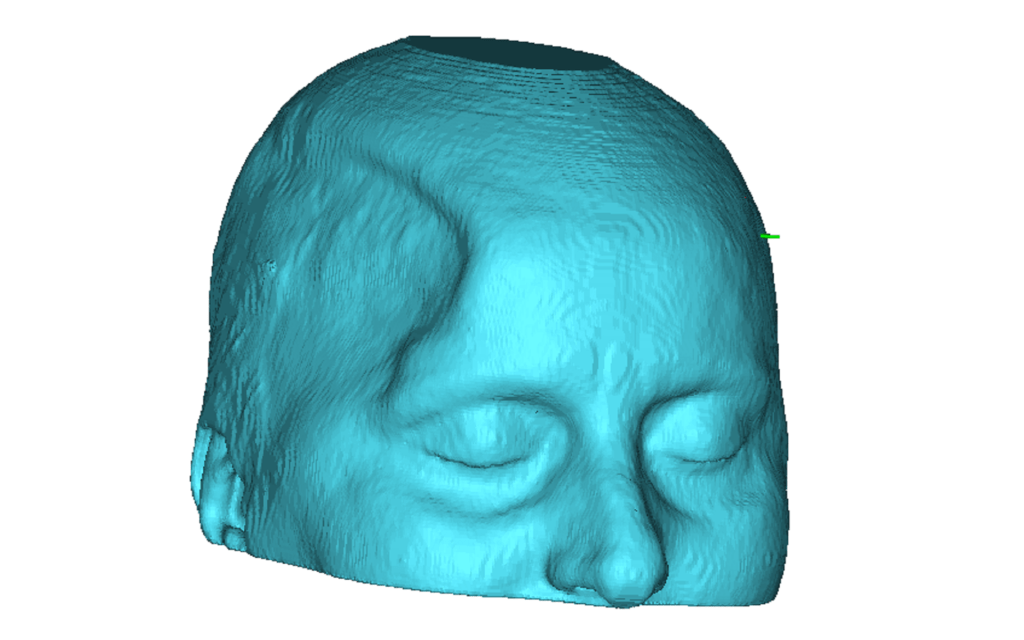
Shokitech is a research and development company, which always stands at the forefront in the field of technology and advancement. Here we work on providing the best in industry 3D printing solutions, at a very affordable price. We provide you with the best in quality 3D printing, we never compromise on the quality of our products. We believe in serving experience. We not only bind ourselves just to provide 3D printing services, but we also do our research work on how we can find a new way to utilize the potential of 3D printing technology for the help of the people. We have a research team of highly motivated people, who are continuously involved in the discovery of many more ways to use the potential of 3D printing. We are also doing work in the Bio-medical field. We are finding more ways to merge 3D printing with the medical field in India because here in India we see a very large gap between the medical field and technological advancement.
So, we are working on the path of filling this gap with our vision and through our hard work.
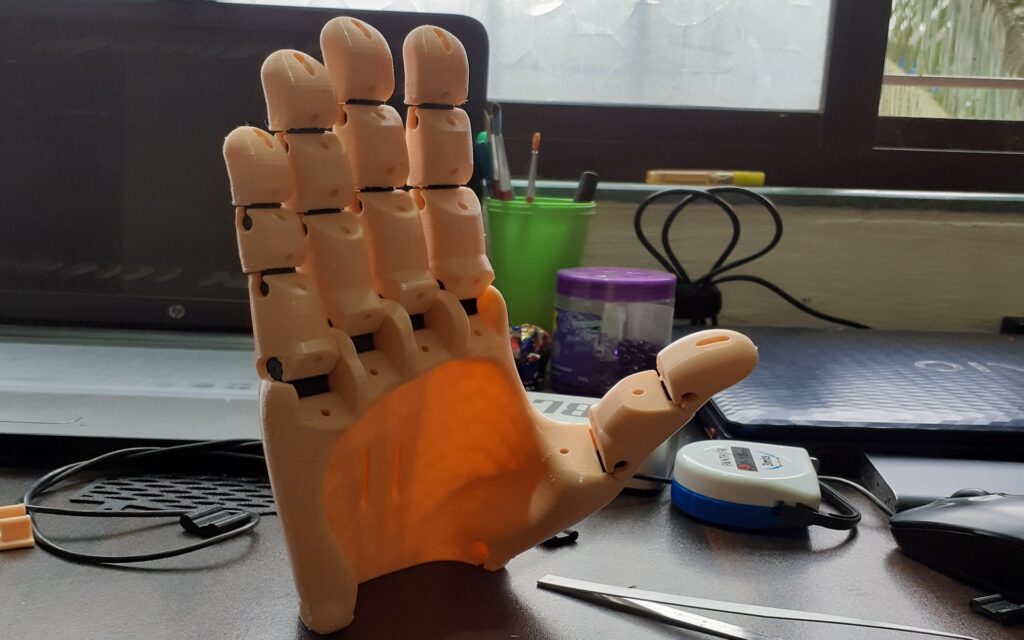
The Future of Prosthetic Hands: Advances in Technology and Design
Tap to see how 3D printing helps in making person-specific prosthetics.
Thank you, for being with us till here, now I think you understand 3D printing, and get a broad view of this topic.
In the next blog, we are going to know about the history of our 3D printers.
So, till then keep being awesome and keep learning, We will meet again in our next blog….